Fixing Broom
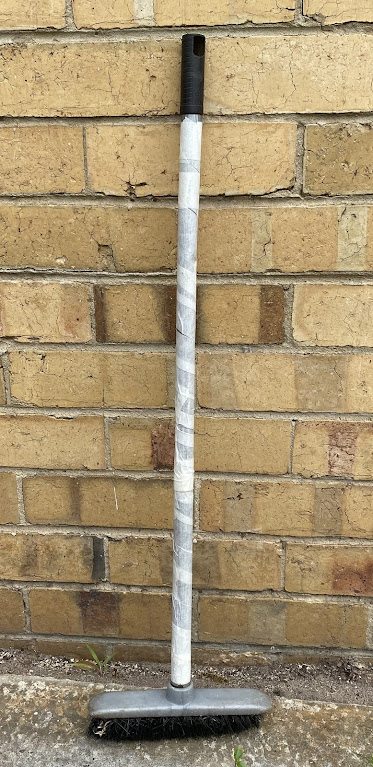
This article is about a broken broom that was fixed with a 20 mm metal rod.
Figure 1: Fixed Broom.
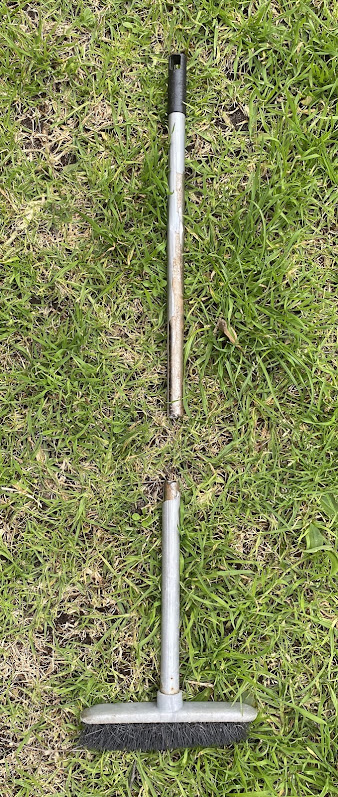
I started with a broken broom shown in this photo:
Figure 2: Broken Broom.
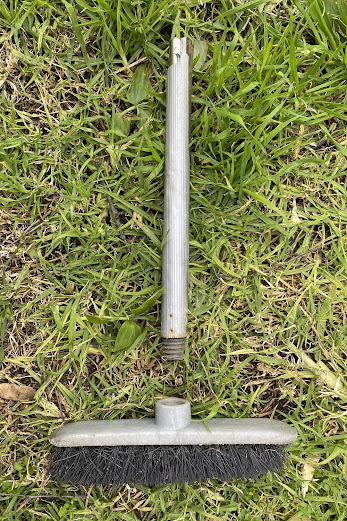
One solution was to unscrew the broken piece, go to the hardware store and buy a new broom rod:
Figure 3: Alternative solution.
Figure 4: 20 mm thickness, 1.2 m length metal rod.
A good option is to purchase a hollow rod because the broom might become heavy. However, I could not find such a rod in a hardware store.
Step 1: Mark 40 cm Length With Pencil
I used a pencil to mark the 40 cm length:
Figure 5: Mark the Length.
I did not want the cut a full broom length of the rod because then the broom would be heavy after it is fixed.
Step 2: Cut the Rod With Hack Saw
Figure 6: Cut the Rod Photo 1.
You can now see the 40 cm piece:
Figure 7: Cut the Rod Photo 2.
Step 3: Insert the Rod Into First Piece
I inserted the rod into the first piece and sealed it with masking tape:
Step 4: Insert the Rod Into Second Piece
I inserted the rod into the second piece and sealed it with masking tape:
Conclusion
I also had to use pliers to widen the opening of the two broken rod pieces to allow insertion of the 20 mm thickness rod.


Comments
Post a Comment