Fixing LED Torch
This article is about fixing an LED torch.
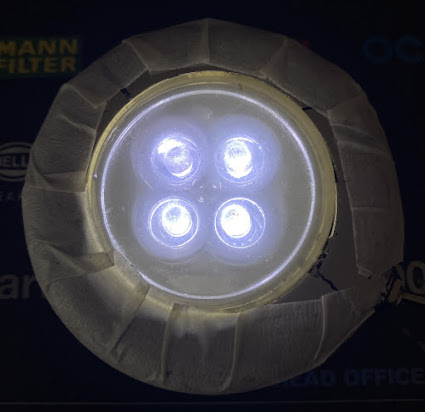
Figure 1: LED Torch.
The way the torch used to work is, that when you press on the LEDs the torch turns ON. Such action (pressing on the LEDs) would activate a switch that was inside the encasement.
The LED torch was powered by three 1.5 V AAA batteries:
Figure 2: AAA Batteries.
This video shows a fixed LED torch being tested:
Step 1: Open the Torch
In order to fix the torch, we need to open it first.
I had to break the encasement because there are no screws (the encasement was sealed).
Figure 3: Opened encasement.
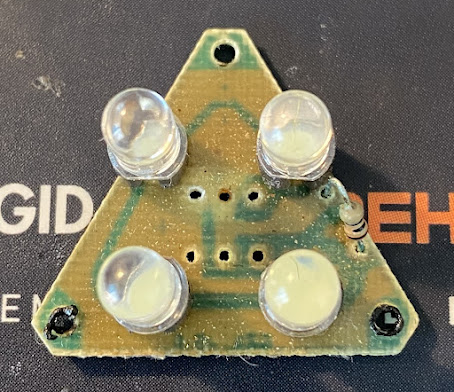
This is the LED printed circuit board inside:
Figure 4: LED PCB Photo 1.
I already removed the six-pin switch from the PCBs before taking the photo.
Figure 5: LED PCB Photo 2.
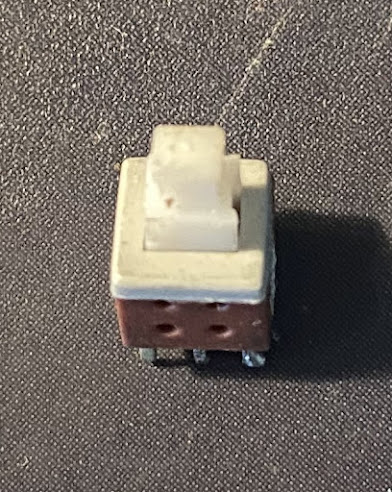
This is the broken switch:
Figure 6: Broken switch.
Step 2: Buy New Switch
I went to the local electronics store but could not find the same switch. They did not sell such small switches. Thus had to improvise and purchased a different switch:
Step 3: Label the PCB
I labeled the PCB with a permanent marker:
The small plus sign (printed by the manufacturer) is actually wrong. It is actually the negative terminal of the power supply.
Step 4: Attach Power Wires
I soldered the power wires to the PCB nodes.
Figure 9: Attach power wires.
Step 5: Attach Switch Wires
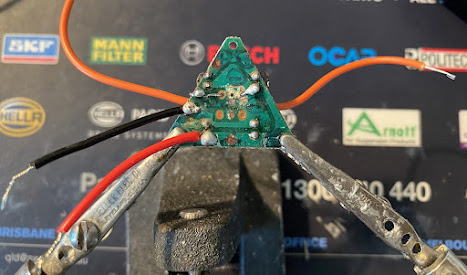
Then I soldered the switch wires (orange).
Figure 10: Attach switch wires photo 1.
The orange wire on your left is connecting the resistor to the switch. The resistor is connected to the black negative terminal. The orange wire on your right is connecting the switch to the negative LED pins (cathode).
Figure 11: Attach switch wires photo 2.
Step 6: Testing and Encasement
The videos show how I was testing this LED torch:
The LED is not a touch sensor. I am actually connecting the two wires with my fingers:
I used masking tape to seal the broken encasement:
Figure 12: Testing.


Comments
Post a Comment